መግቢያ
This manual provides detailed instructions for the installation, operation, and maintenance of your AXAGON ADSA-ST USB 3.0 Docking Station. This device is designed to connect 2.5" and 3.5" SATA SSDs and HDDs to your computer via a USB 3.0 interface, offering fast data transfer speeds.
ምርቱን ከመጠቀምዎ በፊት ተገቢውን ተግባር ለማረጋገጥ እና ጉዳትን ለመከላከል ይህንን መመሪያ በደንብ ያንብቡ።
የጥቅል ይዘቶች
ሁሉም ክፍሎች በጥቅሉ ውስጥ መገኘታቸውን ያረጋግጡ፡-
- AXAGON ADSA-ST Docking Station
- USB 3.0 Type-A to Micro-B cable
- የኃይል አስማሚ
- የተጠቃሚ መመሪያ (ይህ ሰነድ)

Image: The AXAGON ADSA-ST Docking Station shown alongside its retail packaging, illustrating the product and its box.
ቁልፍ ባህሪያት
- Supports 2.5" and 3.5" SATA I/II/III SSDs and HDDs.
- USB 3.0 (USB 3.2 Gen 1) interface with up to 5 Gbps transfer speed.
- SATA 6G (SATA III) support.
- UASP (USB Attached SCSI Protocol) support for enhanced performance.
- TRIM support for SSDs.
- HDD Auto Spindown function.
- LED indication for power and activity.
- Compact design with aluminum body.

ምስል፡ ኤ view of the AXAGON ADSA-ST Docking Station highlighting its 5 Gbps USB 3.2 Gen 1 speed and compact size.
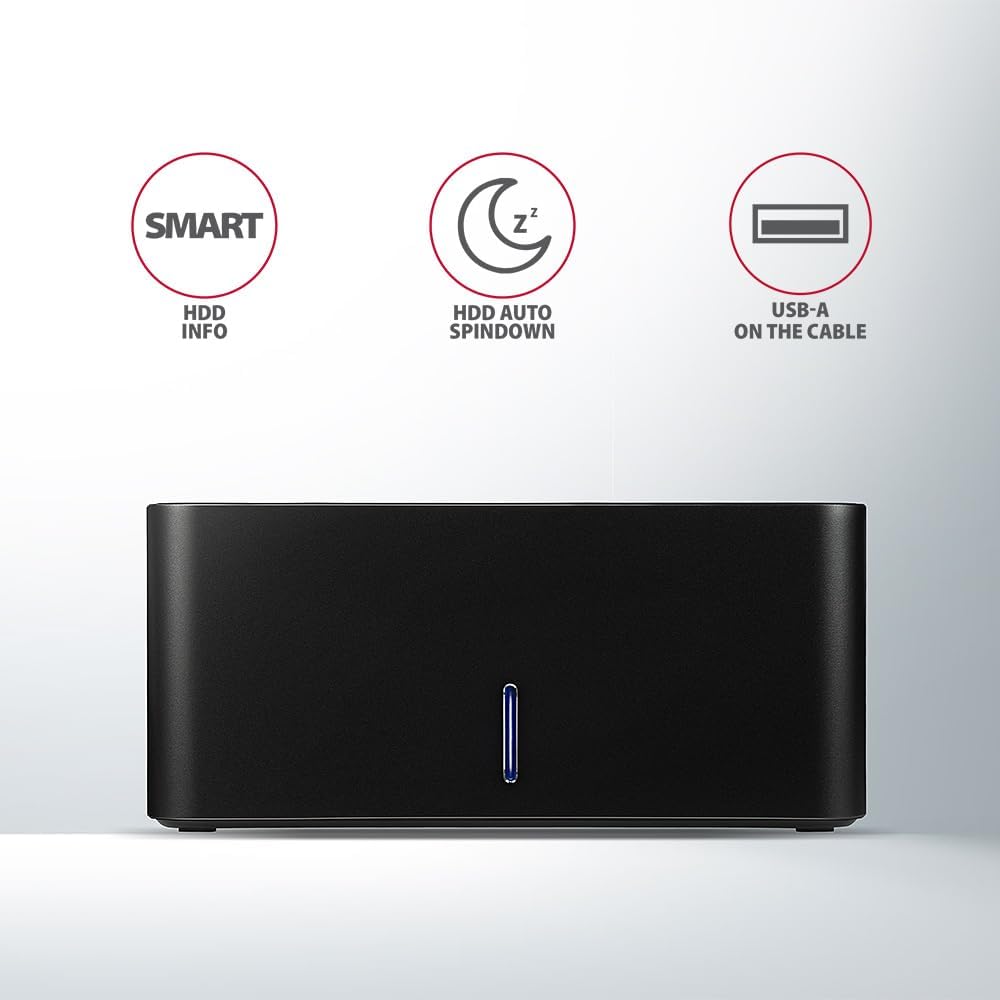
Image: The docking station from the front, indicating features like SMART HDD info, automatic HDD spindown, and USB-A connectivity.
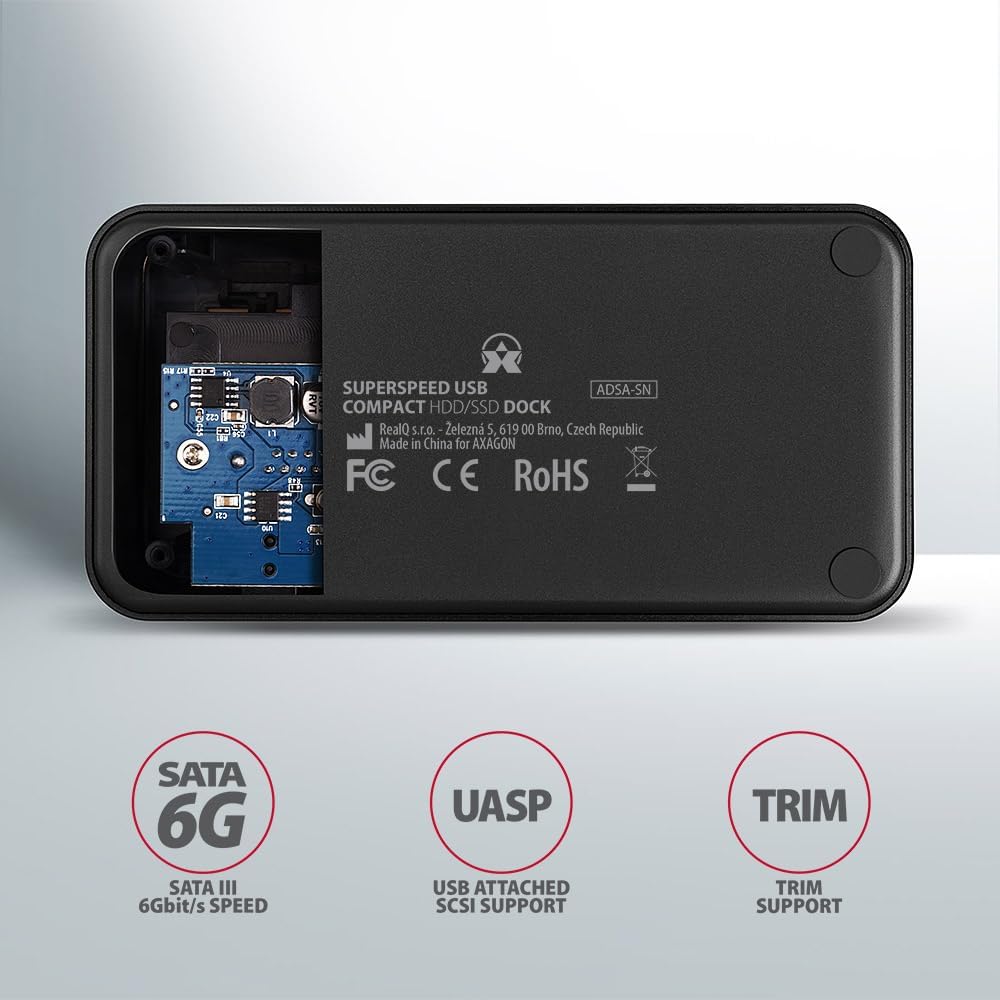
Image: The underside of the docking station, showing internal components and highlighting SATA 6G, UASP, and TRIM support.
የማዋቀር መመሪያዎች
- የኃይል አስማሚን ያገናኙ፡ Plug the included power adapter into the DC IN port on the back of the docking station and then into a power outlet.
- ከኮምፒዩተር ጋር ይገናኙ; Connect the USB 3.0 cable from the docking station's Micro-B port to an available USB 3.0 (or higher) port on your computer.
- ኤችዲዲ/ኤስኤስዲ ያስገቡ፦
- For 2.5" SSD/HDD: Gently slide the 2.5" drive into the slot until it connects firmly with the SATA connector.
- For 3.5" HDD: Gently slide the 3.5" drive into the slot until it connects firmly with the SATA connector.
Ensure the drive is inserted correctly with the SATA connector facing the correct direction. Do not force the drive.

Image: A 2.5-inch SSD being inserted into the docking station, demonstrating compatibility with smaller drives.
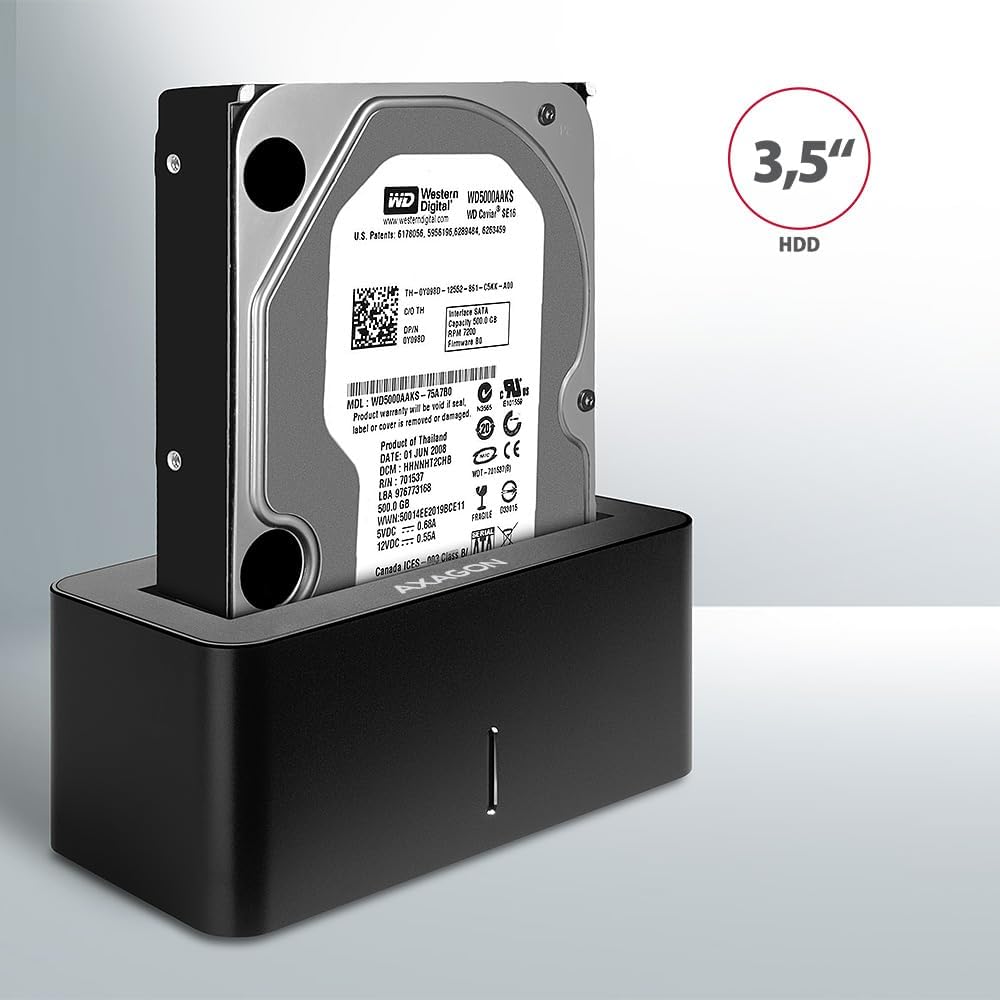
Image: A 3.5-inch HDD being inserted into the docking station, demonstrating compatibility with larger drives.
- አብራ፡ Press the power button located on the back of the docking station. The LED indicator on the front will illuminate.
Image: The rear panel of the docking station, showing the power button, USB Micro-B port, and power input for connection.
የአሠራር መመሪያዎች
Drive Recognition
Once powered on and connected, your operating system should automatically detect the inserted drive. If it's a new drive, you may need to initialize and format it through Disk Management (Windows) or Disk Utility (macOS) before it appears in File አሳሽ/አግኚ።
የ LED አመልካች
The LED indicator on the front of the docking station provides status information:
- ጠንካራ ሰማያዊ; Power on, drive idle.
- የሚያብረቀርቅ ሰማያዊ; Drive activity (reading or writing data).
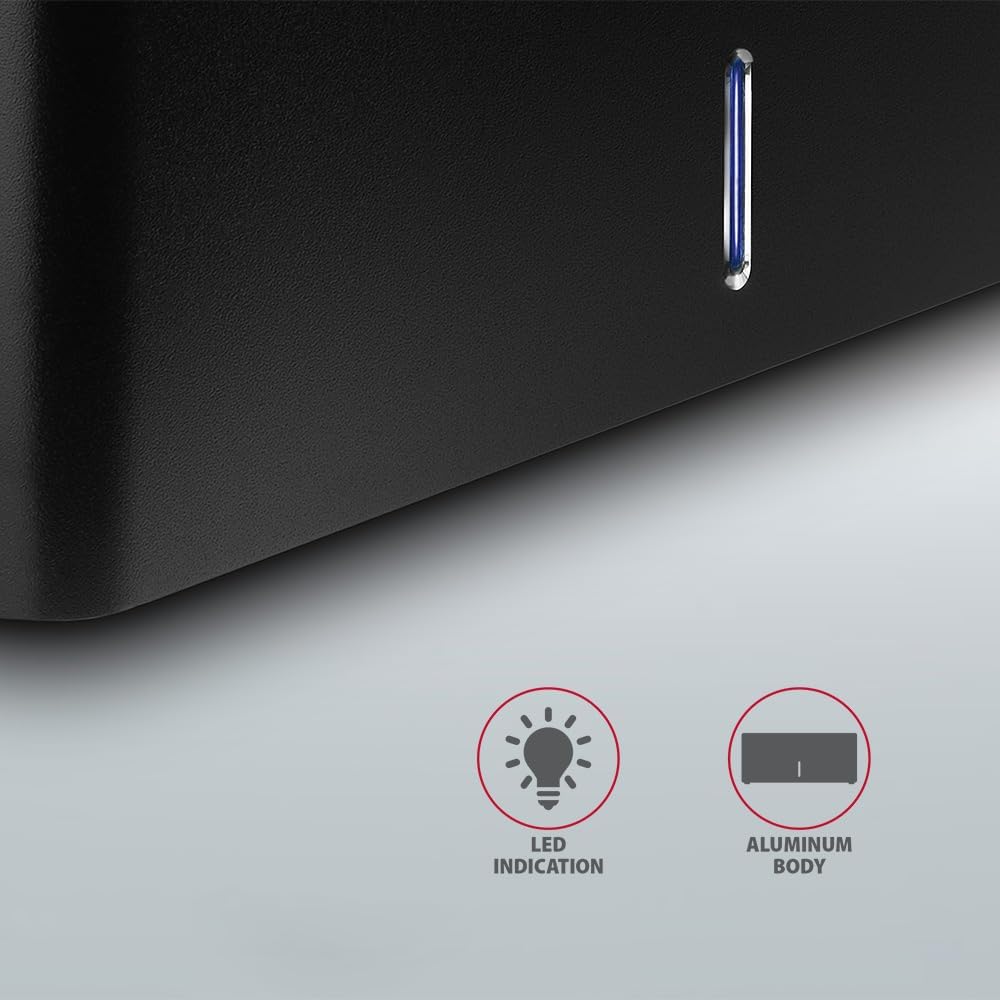
ምስል፡ መቀራረብ view of the docking station's front panel, highlighting the LED indicator light.
Removing a Drive
Before removing a drive, always safely eject it from your operating system to prevent data corruption. After ejection, gently pull the drive straight out of the docking station slot.
HDD Auto Spindown
The docking station supports automatic spindown of the HDD when it is idle for a certain period, conserving power and extending drive lifespan. This feature is managed by the operating system or the drive itself.
ጥገና
- የመትከያ ጣቢያውን ንፁህ እና ከአቧራ የጸዳ ያድርጉት። ለማጽዳት ለስላሳ እና ደረቅ ጨርቅ ይጠቀሙ።
- መሳሪያውን ለከፍተኛ ሙቀት፣ እርጥበት ወይም ቀጥተኛ የፀሐይ ብርሃን ከማጋለጥ ይቆጠቡ።
- መሳሪያውን እራስዎ ለመበተን ወይም ለመጠገን አይሞክሩ. ብቃት ያላቸውን የአገልግሎት ሰራተኞች ይመልከቱ።
- Ensure proper ventilation around the docking station during operation.
መላ መፈለግ
- Drive አልተገኘም
- የኃይል አስማሚው ደህንነቱ በተጠበቀ ሁኔታ መገናኘቱን እና የመትከያ ጣቢያው መብራቱን ያረጋግጡ።
- Verify the USB cable is properly connected to both the docking station and the computer.
- በኮምፒተርዎ ላይ የተለየ የዩኤስቢ ወደብ ይሞክሩ።
- Ensure the HDD/SSD is fully seated in the docking station's slot.
- Check Disk Management (Windows) or Disk Utility (macOS) to see if the drive is recognized but uninitialized/unformatted.
- Test with a different HDD/SSD to rule out a drive issue.
- ዝቅተኛ የዝውውር ፍጥነት;
- Ensure the docking station is connected to a USB 3.0 (or higher) port on your computer. USB 2.0 ports will limit speeds.
- የእርስዎ ኦፐሬቲንግ ሲስተም እና ሾፌሮች ወቅታዊ መሆናቸውን ያረጋግጡ።
- The actual speed depends on the drive's performance and your computer's USB controller.
- Drive disconnects randomly:
- ሁሉንም የኬብል ግንኙነቶች ይፈትሹ.
- የኃይል አስማሚው የተረጋጋ ኃይል እያቀረበ መሆኑን ያረጋግጡ።
- Disable USB power saving features in your computer's operating system settings.
ቴክኒካዊ ዝርዝሮች
| ባህሪ | ዝርዝር |
|---|---|
| የምርት ስም | አክስጎን |
| የሞዴል ቁጥር | ADSA-SN |
| የሃርድዌር መድረክ | PC |
| ተስማሚ መሣሪያዎች | ላፕቶፕ ፣ ዴስክቶፕ ፒሲ |
| የDrive ተኳኋኝነት | 2.5" / 3.5" SATA I/II/III SSD/HDD |
| በይነገጽ | ዩኤስቢ 3.0 (USB 3.2 Gen 1) |
| የውሂብ ማስተላለፍ ፍጥነት | Up to 5 Gbps (USB 3.0), 6 Gbps (SATA III) |
| ጠቅላላ የዩኤስቢ ወደቦች | 1 (Micro-B) |
| የDrive Bays ብዛት | 1 |
| ቀለም | ጥቁር |
| የእቃው ክብደት | 2.2 ፓውንድ (በግምት 1 ኪግ) |
| የጥቅል ልኬቶች | 3.94 x 0.79 x 0.39 ኢንች (በግምት. 10 x 2 x 1 ሴሜ) |
| የመጀመሪያ ቀን ይገኛል። | መጋቢት 30 ቀን 2021 ዓ.ም |
ዋስትና እና ድጋፍ
For warranty information and technical support, please refer to the official AXAGON webጣቢያ ወይም የአካባቢዎን አከፋፋይ ያነጋግሩ። ለዋስትና ጥያቄዎች የግዢ ማረጋገጫዎን ያስቀምጡ።