1. Introduction
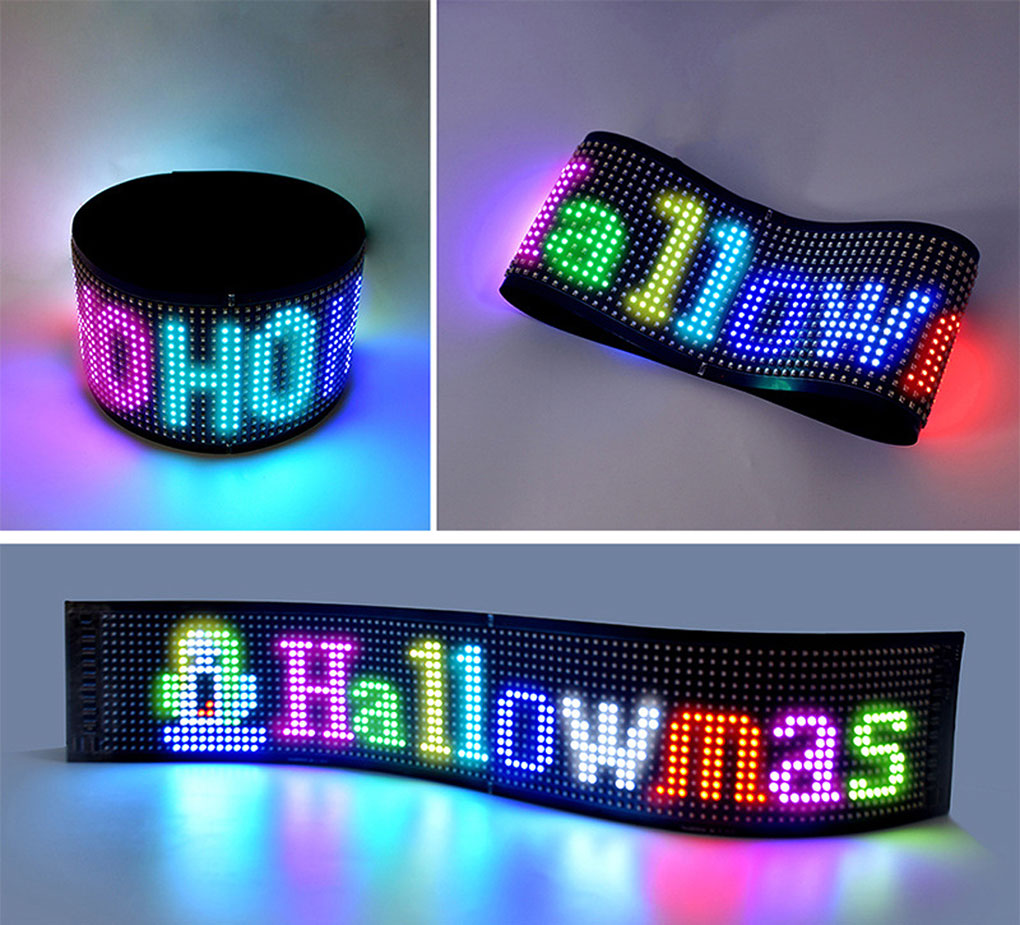
The 16x32 LED Matrix Pixel Panel is a flexible, app-controlled RGB display screen designed for dynamic visual communication. Developed by Shenzhen JotusTechnology Co., Ltd., it utilizes a high-quality FPC flexible soft board, allowing it to be bent and rolled for versatile installation. It supports text, doodles, animations, and other content, all controllable via a mobile application. Powered directly by USB (DC5V/2A), it offers plug-and-play convenience. Its waterproof design makes it suitable for both indoor and outdoor applications, such as car rear windows and shop displays.


Key Features:
- USB-powered, plug-and-play operation.
- Supports universal languages worldwide via mobile app.
- Waterproof with a drop-proof process, suitable for outdoor use.
- Mobile app control for modifying text, doodling, and animations.
- Flexible design for installation on various surfaces without light leakage.
2. Specifications
| Attribute | Value |
|---|---|
| Item Code | LED-JTPD-03-005 |
| Screen Size | 17CM x 7CM |
| Resolution | 16 rows x 32 columns |
| Pixel Pitch | P4 4mm |
| LED Chip Model | 2121RGB lamp beads |
| Screen Technology | Dripping glue waterproofing |
| Supports Various Colors | Colorful (without grayscale) |
| Input Voltage/Current | DC5V/2A |
| Input Interface | USB |
| Overall Weight | 172g ± 50g |
| Package Dimensions | 20CM x 20CM x 1.65CM |
| Is Bulbs Included | No |
| Is Dimmable | Yes |
| Power Source | AC |
| Light Source | LED bulbs |
| Certification | FCC, CE |
| Item Type | Panel Lights |
3. Package Contents
Please check the package for the following items:
- 1x Flexible LED Matrix Panel (16x32 RGB)
- 1x USB Power Cable with inline switch
- 1x Roll of Double-sided Adhesive Tape
- 1x Instruction Manual (this document)


4. Setup Instructions
- Unpack: Carefully remove the LED Matrix Panel and all accessories from the packaging.
- Choose Location: Select a clean, dry, and smooth surface for mounting. The flexible nature of the panel allows it to conform to curved surfaces.
- Apply Adhesive: Apply the provided double-sided adhesive tape evenly to the back of the LED panel.
- Mount Panel: Carefully press the panel onto the chosen surface, ensuring a firm and secure attachment.
- Connect Power: Connect the USB power cable to the LED panel.
- Power Source: Plug the USB connector into a compatible DC5V/2A USB power source. This could be a car USB port, a USB wall adapter, or a power bank.
- Power On: Use the inline switch on the USB cable to turn the device on.
- Download App: Scan the QR code on the product packaging or search for the companion app (e.g., 'CoolLED1248' or similar) in your device's App Store (iOS) or Google Play Store (Android).
5. Operating Instructions
5.1 Powering On/Off
Once connected to a 5V/2A USB power source, use the inline switch on the USB cable to toggle the panel's power. The panel will display its last programmed content upon powering on.
5.2 App Control and Customization
The LED Matrix Panel is controlled wirelessly via a dedicated mobile application. Ensure Bluetooth is enabled on your smartphone.
- Pairing: Open the downloaded app on your smartphone. The app should automatically detect and prompt you to connect to the LED panel via Bluetooth. Follow the on-screen instructions to complete the pairing process.
- Content Modes: The app typically offers various content modes:
- Text: Input custom text messages. You can usually adjust font, size, color, and scrolling effects.
- Graffiti/Doodling: Draw custom patterns or images directly within the app.
- Animation: Select from a library of pre-set animations or create your own pixel art animations.
- Music Mode: Some apps may offer a mode where the display reacts to music or sound.
- Brightness Adjustment: The panel is dimmable. Use the app's settings to adjust the brightness level to suit your environment.
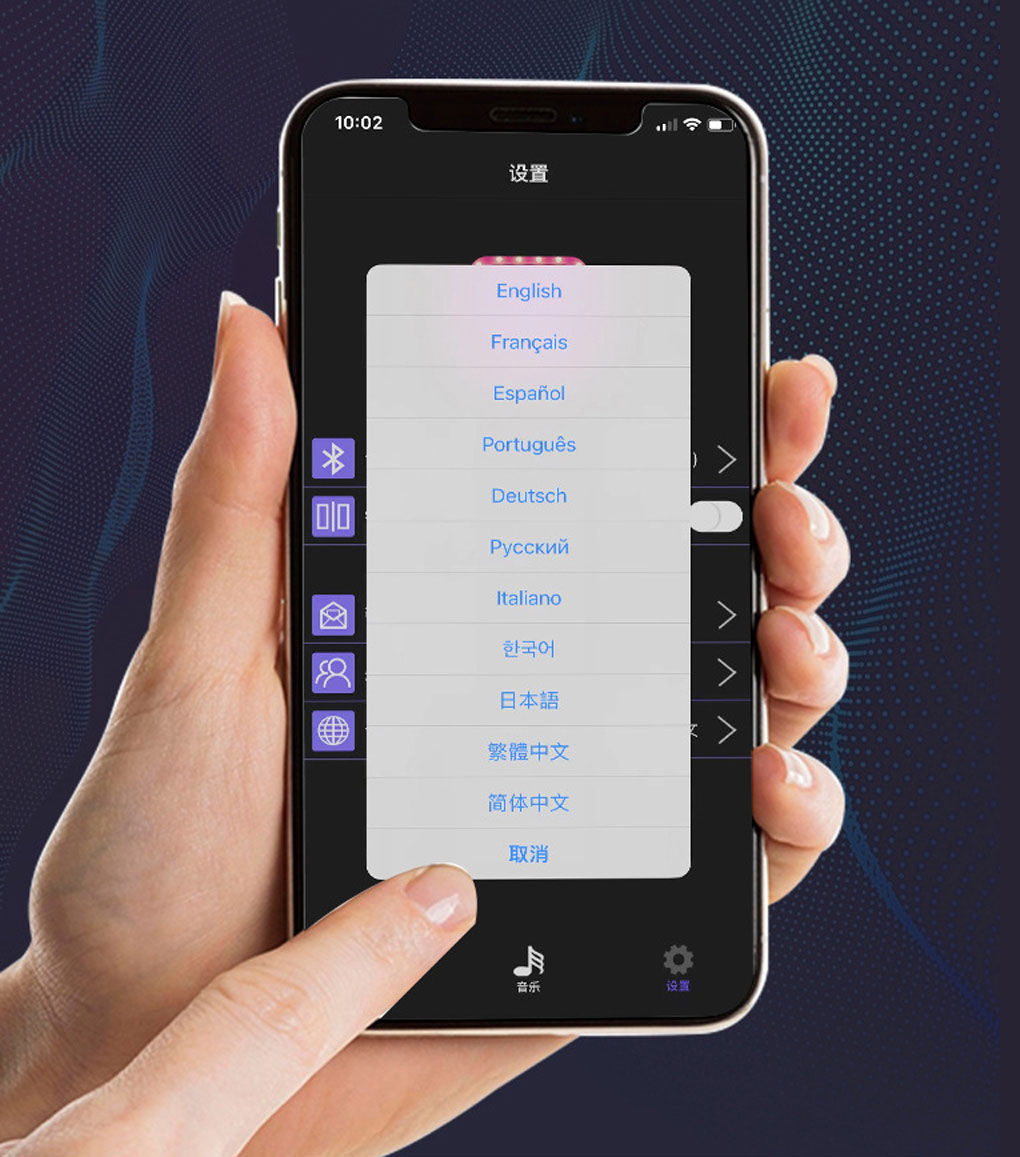
- Language Support: The app supports multiple languages for ease of use.


5.3 Usage Examples Video
6. Maintenance
- Cleaning: To clean the LED panel, gently wipe the surface with a soft, dry, lint-free cloth. Avoid using abrasive materials, harsh chemicals, or excessive moisture, as these can damage the screen or its waterproofing.
- Storage: When not in use for extended periods, store the panel in a cool, dry place away from direct sunlight and extreme temperatures. Avoid folding or creasing the panel sharply to prevent damage to the internal circuitry.
- Waterproofing: While the panel features dripping glue waterproofing, it is designed to withstand splashes and light rain. Avoid prolonged submersion in water or exposure to high-pressure water jets.
7. Troubleshooting
- Problem: Panel not lighting up.
- Solution:
- Check the USB power connection. Ensure the power source provides DC5V/2A.
- Verify that the inline switch on the USB cable is in the 'ON' position.
- Try connecting the USB cable to a different compatible power source.
- Problem: Mobile app not connecting to the panel.
- Solution:
- Ensure Bluetooth is enabled on your smartphone.
- Make sure the LED panel is powered on.
- Restart the mobile application and attempt the pairing process again.
- Check your smartphone's app permissions to ensure the app has access to Bluetooth.
- Problem: Content not displaying correctly or is garbled.
- Solution:
- Verify the content settings (text, animation, etc.) within the mobile app.
- Ensure the panel is receiving stable and sufficient power (DC5V/2A).
- Try restarting both the LED panel (by cycling the power switch) and the mobile app.
8. User Tips
- For optimal visibility in bright daylight conditions, ensure the panel's brightness is set to its maximum level via the app.
- When installing the panel on curved surfaces, apply the adhesive tape evenly and press firmly to ensure a secure and long-lasting bond.
- Experiment with different text effects, colors, and animations within the app to create unique and eye-catching displays for various occasions.
- Consider using a high-capacity power bank for portable applications where a constant power source isn't readily available.
9. Warranty and Support
For specific warranty information, please refer to the documentation provided at the time of purchase or contact your seller directly. Keep your proof of purchase for any warranty claims.
For technical support, troubleshooting assistance, or further inquiries, please reach out to the product seller or refer to their official support channels.


